How to Change Keycaps on a Mechanical Keyboard: Full Guide

This article contains affiliate links. If you buy through them, I earn a small commission at no extra cost to you. I only recommend keyboards I’ve actually tested. As an Amazon Associate I earn from qualifying purchases.
The first time I changed keycaps, I cracked a $4 spacebar legend trying to wedge a flathead screwdriver under it. Don’t be me. Learning how to change keycaps is genuinely one of the easiest mods you can do — it takes maybe ten minutes, costs nothing if you already have a puller, and changes how your board looks and sounds more than most upgrades twice the price. The catch is that “easy” assumes you know which stem you’re dealing with, which puller won’t chew up your caps, and which corners not to cut. That’s the whole article.
I’ll walk you through every stem type you’ll run into (MX, low-profile, and optical), the tools that are actually worth owning, the exact step-by-step, and the mistakes I see people make over and over in my comments.
Quick Comparison: The Best Keycap Pullers for the Job
Before anything else, you need a puller. The free plastic ring puller that came with your board works — barely — but it leaves scratch marks on glossy ABS caps and slips off thick PBT. Here’s what I actually use and recommend, sorted by what you’re doing.
| Use Case | Tool Type | Why It Wins | Rough Price |
|---|---|---|---|
| Best overall | Stainless steel wire puller | Won’t scratch caps, grips any profile, lasts forever | $5–$10 |
| Best for premium/doubleshot caps (GMK, EPBT) | Coated wire puller (PBT-coated tips) | Zero risk of marring legends or sidewalls | $8–$12 |
| Best budget | The plastic ring puller in your board’s box | Free. Fine for cheap caps. Avoid for premium sets | Free |
| Best for low-profile (Choc, Keychron K3/K7) | Slim wire puller designed for low-pro | Standard pullers physically won’t fit the lower clearance | $6–$10 |
| Best for switches and caps in one tool | 2-in-1 puller (switch puller on one end, keycap on the other) | One tool covers the whole modding workflow | $10–$15 |
My honest take: if you’re buying once and never thinking about it again, grab a stainless wire puller. The ring ones really do scratch shiny caps, and once you see the marks on a $130 GMK set you’ll wish you’d spent the eight bucks.
What You Actually Need Before You Start
- A wire keycap puller (see the table above)
- A clean, soft surface to lay caps on — a microfiber cloth or even a folded T-shirt works
- Compressed air or a soft brush for the dust you’re about to discover
- Your new keycap set, sorted by row if it didn’t come pre-sorted
- A photo of your stock layout — take it with your phone before you pull anything. You’ll thank me when you can’t remember whether F11 came before or after PrtSc on your weird 75% layout.
That’s it. You don’t need lube, you don’t need switch openers, you don’t need anything fancy. Anyone telling you to buy a $40 keycap kit to swap keycaps is selling you something.
Know Your Stem Type Before You Pull Anything
This is the part most beginner guides skip, and it’s the single biggest reason people break stuff. The stem is the little post on the underside of the keycap that grips the switch. Different switches use different stems, and a cap built for one won’t sit on the other.
Here’s how to identify yours:
| Stem Type | Switch Examples | Stem Shape | Keycap Compatibility |
|---|---|---|---|
| MX (Cherry-style) | Cherry MX, Gateron, Kailh Box, Outemu, most Akko switches | + (plus / cross) | The vast majority of aftermarket keycap sets |
| Low-profile (Choc v1) | Kailh Choc, used in Keychron K3/K7, Nuphy Air series | Flat rectangular bar | A small but growing market — MBK, FKcaps, some Akko sets |
| Optical | Razer optical, Gateron optical, some Wooting switches | Usually MX-style cross, but the switch itself is taller and thinner | Most MX caps fit Gateron optical fine; Razer optical has a slightly different stem on some models — double-check before you buy |
A few things worth knowing here:
- Most “mechanical” keyboards in the US market use MX stems. Keychron, Glorious, Ducky, Drop, Royal Kludge — all MX. So if you don’t know, MX is the safe bet 90% of the time.
- Low-profile Choc caps are not interchangeable with MX caps. They look similar in photos. They are not. If your board is a Keychron K3, K7, or any Nuphy Air, you need Choc-specific caps.
- Optical switches are the weirdest one to shop for. Most Gateron optical setups (like older Glorious boards) take regular MX keycaps. Razer’s optical switches on the Huntsman line technically use a cross stem too, but the switch housing is unusual — confirm fit before you drop money on a fancy set.
If you’re not sure, pop one keycap off (the puller won’t hurt anything), look at the underside, and compare to the table.
How to Change Keycaps: The Step-by-Step
Now the actual job. This works for any stem type — the technique is the same, the tool just changes.
- Unplug your keyboard. Mostly so you don’t accidentally type into something important when keys press as you pull. Also good practice.
- Take a reference photo of your current layout. Top-down, well-lit. Save your future self the headache.
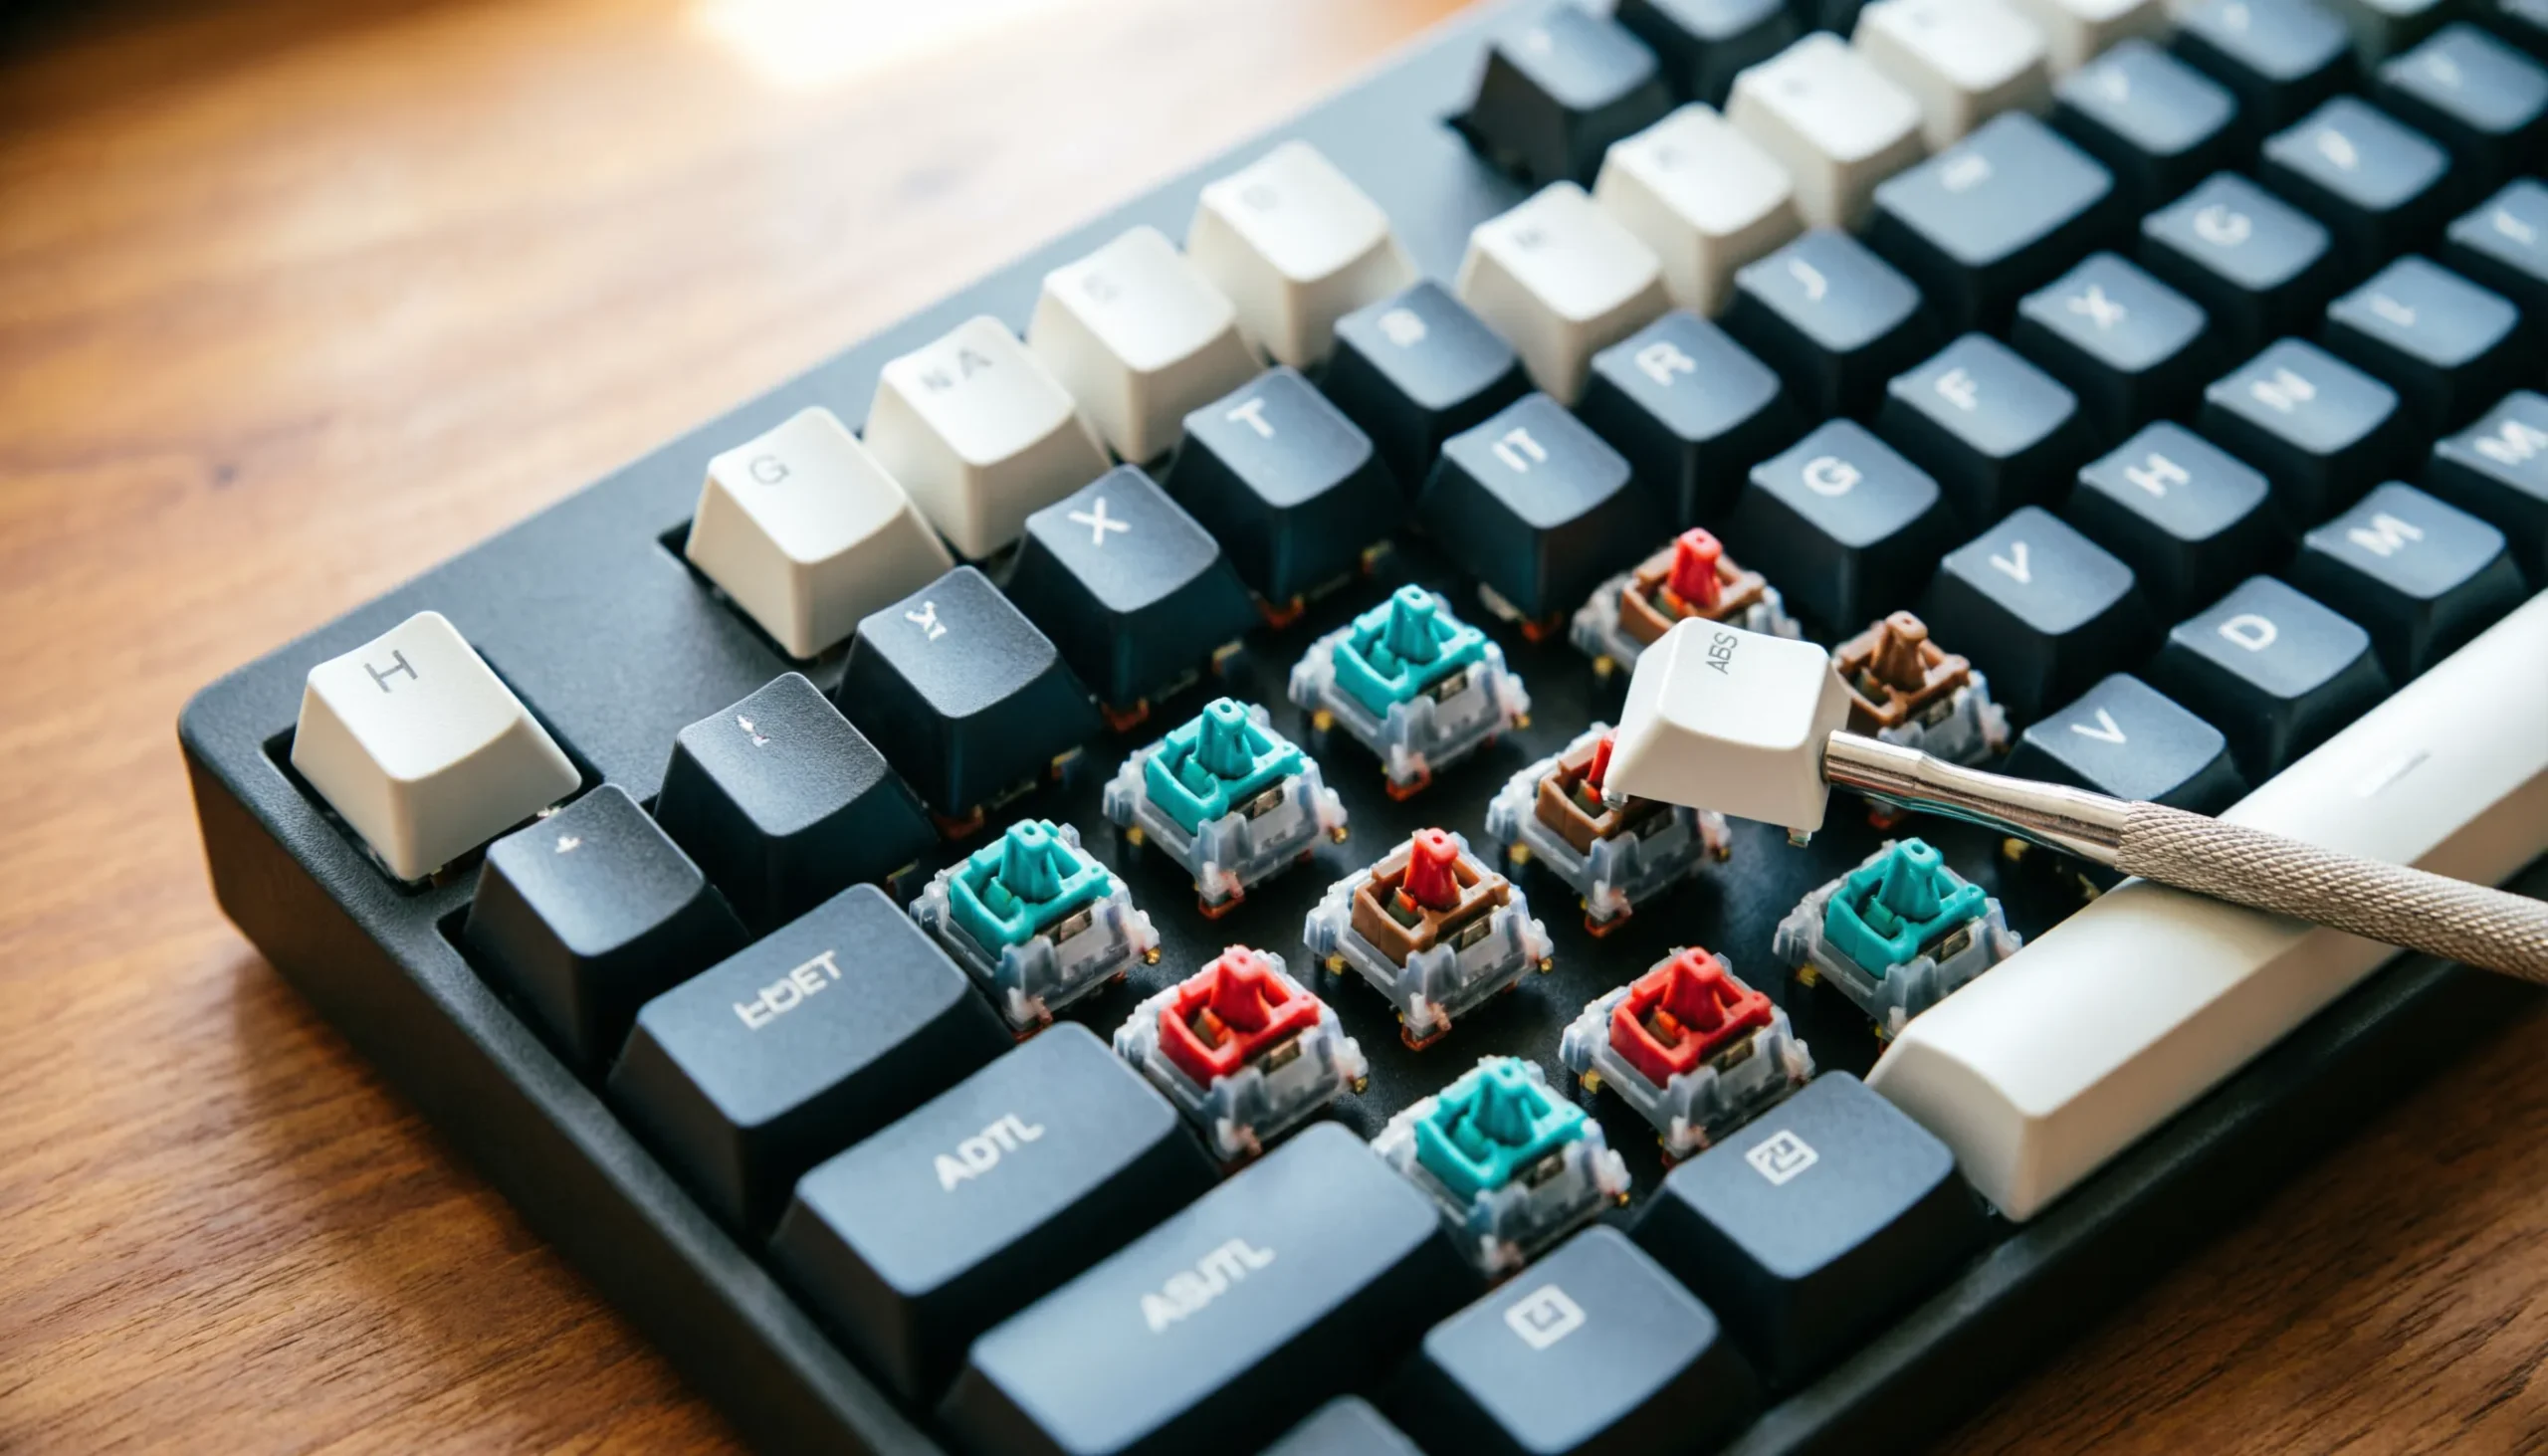
- Slide the wire puller down over a keycap until the two hooks slip under opposite corners of the cap. Don’t shove it on at an angle.
- Pull straight up — slow and even. No twisting, no rocking. The cap should come off with a satisfying little pop. If it feels stuck, you’re probably angled; reset and try again.
- Set the cap aside on your cloth in roughly its original position. This helps if you ever need to put the old set back.
- Repeat for every cap you want to swap. I do mine in rows — top row first, then number row, then the alphas. Less chaotic.
- Quick clean. With everything off, blast the switch plate with compressed air. You’ll be horrified. This is the only time you can easily clean under there, so take advantage.
- Install the new caps. Line up the stem on the underside with the switch stem, press straight down with your thumb. You’ll feel a small click as it seats. Don’t slam them on — gentle, even pressure is enough. Stabilized keys (spacebar, Enter, Shift, Backspace) take a little more attention because you have to seat the cap onto both the switch stem and the stabilizer wire arms. Press the middle first, then the ends.
- Plug it back in and test every key. Especially the modifiers and the spacebar. If any key feels mushy or doesn’t register, pull it off and reseat it — you probably missed a stab wire.
That’s the whole process. Total time on a full-size board: 15 minutes. On a 60%: under 10.
The Mistakes That’ll Cost You a Keycap
Three things I see constantly:
- Pulling at an angle. This is the #1 cracker of doubleshot ABS legends. Wire puller, straight up, every time.
- Forcing a cap that doesn’t fit. If you’re pressing hard and it’s not seating, stop. Either the stem type is wrong or you’ve got a stab wire out of alignment. Forcing it can snap the cross-stem on the underside of the cap, and that cap is now garbage.
- Forgetting the stabilizers exist. New people pull a spacebar and panic when stuff falls out. Those wire bits are supposed to be there. Press the new cap onto the switch stem and clip it onto the stab wires. If the spacebar feels rattly or one side sits lower, it’s not seated on the stabs.
One more, less common but expensive: don’t try this on a hot-swap board with the switches unsecured. I’ve seen people pull a cap and the entire switch come up with it because they recently swapped switches and didn’t push them all the way down. Press your switches firmly into the socket before pulling caps.
When You Probably Shouldn’t Change Your Keycaps
Mildly contrarian take: not every board needs a keycap swap.
If you’ve got a budget board with stock ABS caps that already feel cheap, dropping $80 on a premium PBT set will improve the typing feel more than you’d guess — totally worth it. But if you’re on something like a Keychron Q-series or a Drop Sense75 that already shipped with thick PBT doubleshot caps, the upgrade is mostly cosmetic. You’re paying for a colorway, not better typing.
And if you bought your keyboard because of its RGB shine-through legends, most aftermarket PBT sets block a huge amount of the lighting. I’m not going to pretend that matters to me — I keep RGB off on every board I own — but if it matters to you, look specifically for “shine-through” or “pudding” caps (the HyperX Pudding set is the cheap classic; Glorious GPBT also does shine-through variants).
The smarter buy is often a $25 set of decent PBT for a budget board. The dumber one is a $150 GMK set on a $80 keyboard.
The verdict: swapping keycaps is the highest-impact, lowest-effort mod you can do to a mechanical keyboard. Spend $8 on a real wire puller, confirm your stem type, take it slow on the stabilized keys, and you’re done. Anyone who tells you this requires expertise is gatekeeping a ten-minute job.
This article contains affiliate links. If you buy through them, I earn a small commission at no extra cost to you. I only recommend keyboards I’ve actually tested. As an Amazon Associate I earn from qualifying purchases.