Can You Mod a Hall Effect Keyboard? What Works, What Doesn’t
This article contains affiliate links. If you buy through them, I earn a small commission at no extra cost to you. I only recommend keyboards I’ve actually tested. As an Amazon Associate I earn from qualifying purchases.
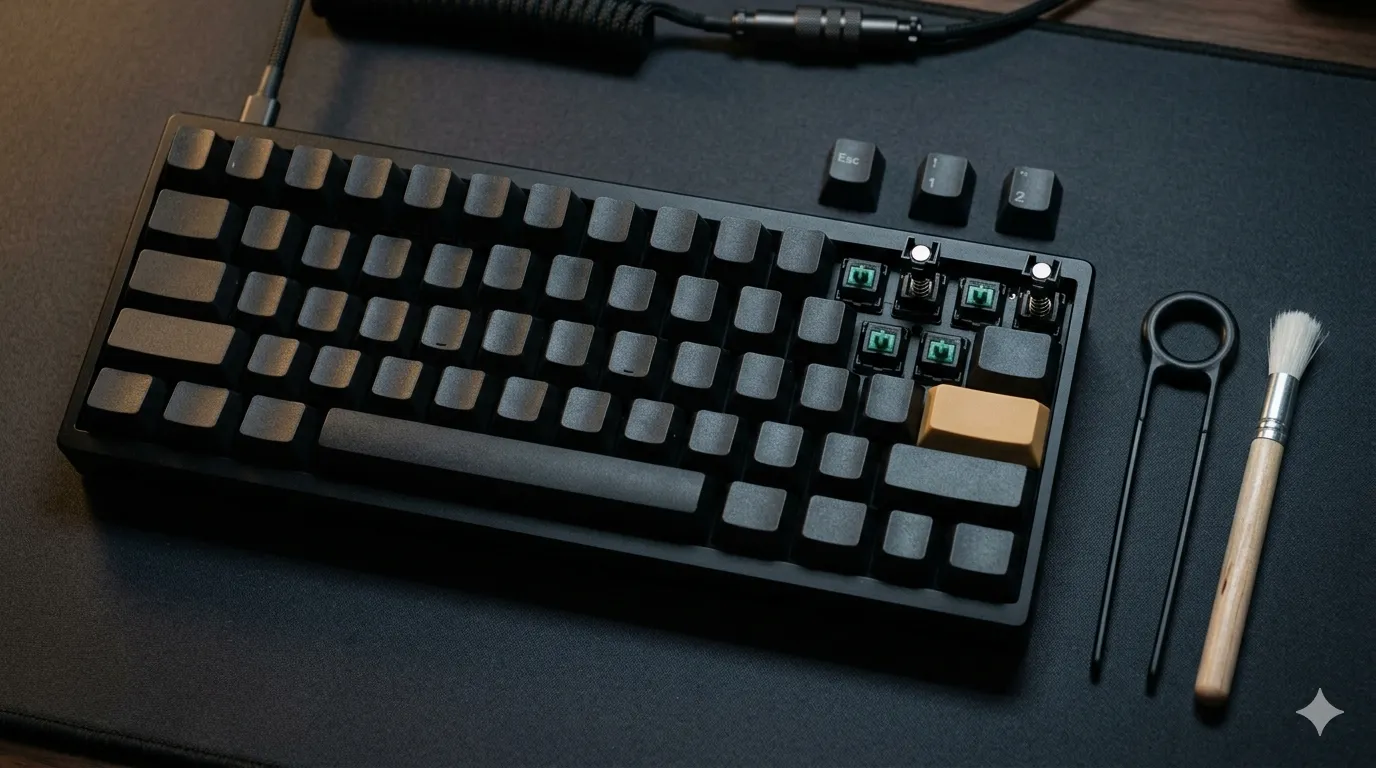
Short answer: yes, you can mod a Hall Effect keyboard — just not every mod, and not the way you’d treat a regular mechanical board. I’ve torn down a handful of HE boards over the past two years, and the cleanest way to think about it is this: the sound mods all still work, most of the feel mods still work, and the moment you start messing with magnets or sensors you’re either rolling up your sleeves to recalibrate or bricking the experience. If you want to mod a Hall Effect keyboard without regretting it, you need to know which side of that line you’re on.
This guide walks you through what’s safe, what’s risky, and what’ll actively make your board worse.
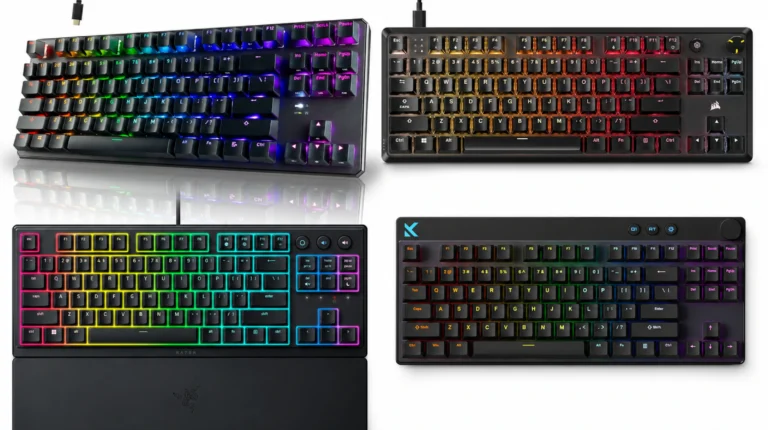
Quick Comparison: Best Hall Effect Keyboards to Mod (TL;DR)
If you’re shopping for a board specifically because you want to mod it, not all HE keyboards play nicely. Here’s how I’d sort the field by what you’re actually trying to do.
| Best For | Board | Why It’s Mod-Friendly | Skill Level |
|---|---|---|---|
| Best Overall HE Mod Platform | Wooting 60HE | Hot-swap, huge community, easy keycap and lube work, software calibration is rock-solid | Beginner → Advanced |
| Best TKL for Modders | Wooting 80HE | Gasket mount, swappable plates, room to add foam without killing typing feel | Intermediate |
| Best Premium Mod Canvas | Keychron Q1 HE | Aluminum case, gasket mount, screw-in stabs you’ll actually want to tune | Intermediate → Advanced |
| Best Hot-Swap HE for Switch Tinkering | Drop CSTM80 HE | True hot-swap with compatible HE switches, easy case access | Intermediate |
| Best Budget Entry to HE Modding | Akko MOD007B HE | Cheap enough to experiment, decent stock stabs, easy to open | Beginner |
| Best for Gamers Who Mod Lightly | Endgame Gear KB65HE | Per-key actuation tuning, low-effort sound mods like tape and foam | Beginner |
A note before you click anything: if the board isn’t hot-swap, treat the switches as permanent. That’s not a dealbreaker — plenty of incredible mechanical boards are soldered — but it changes the math.
What Actually Changes Inside a Hall Effect Keyboard
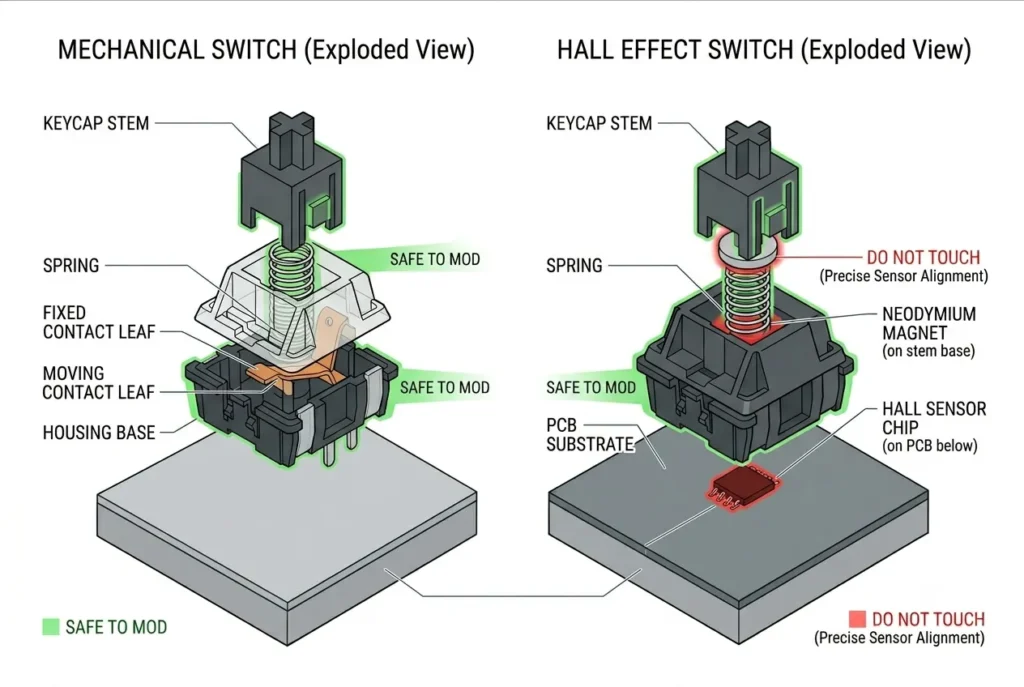
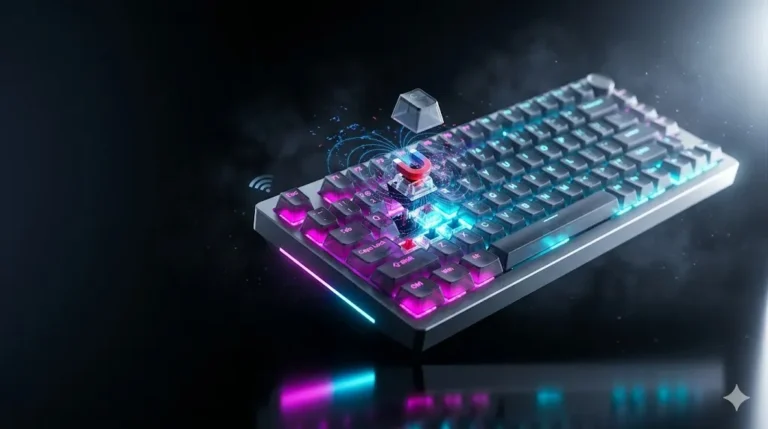
A Hall Effect switch doesn’t have metal contacts. There’s a magnet at the bottom of the stem, and a Hall sensor on the PCB that reads how close the magnet is. As you press the key, the magnet moves toward the sensor, the field strength changes, and the board interprets that as a position from 0 to 4mm of travel. That’s where features like adjustable actuation and Rapid Trigger come from.
What this means for modding: the housing, stem, spring, and stabilizers all behave like a normal mechanical switch. The sensing layer is what’s different. So anything that touches the top of the switch is fair game. Anything that touches the bottom of the switch or the PCB sensor area gets careful.
Mods That Transfer Perfectly From Mechanical
These I’ve done on multiple HE boards with zero issues. If you’ve modded a regular board, you already know how to do these.
- Lubing the housing and rails. Krytox 205g0 on the rails, a light coat. Same brush, same technique. Just keep lube off the magnet at the bottom of the stem and off the PCB.
- Stabilizer lubing and tuning. Stabs are mechanical parts. They don’t know or care that the switches around them are magnetic. Use dielectric grease on the wire and 205g0 on the housing exactly like you would on a Keychron Q1 or a GMMK Pro.
- Band-aid mod and holee mod. Still works. The PCB doesn’t have to “see” the stabilizer.
- Tape mod (painter’s tape on the back of the PCB). Totally fine. The sensors fire through the PCB into the switch, not the other way around, so tape underneath doesn’t interfere.
- Foam mods. Case foam, plate foam, PE foam between the plate and PCB — all work. Sound profile changes the same way it would on any other board.
- Gasket and o-ring isolation. If your board supports it, no difference.
- Keycap swaps. Almost every modern HE switch uses an MX-style stem. PBT doubleshots, GMK clones, KAT, MT3 — they all fit.
In other words, every sound mod you’d do for “thock” on a regular board still lands the same way here. I built a Wooting 60HE with PE foam and silicone in the case and it sounds genuinely great. The Hall Effect part is invisible to the mod.
Mods That Get Weird (Proceed With Eyes Open)
This is where most people get into trouble. The mod technically works, but you have to know what you’re doing.
- Switch swapping on a hot-swap HE board. You can only swap to other HE switches that are mechanically and magnetically compatible with that specific board. Gateron Magnetic Jades on a board designed for them? Fine. Trying to drop a Lekker switch into a non-Lekker socket? Not happening. And dropping a regular mechanical switch into an HE socket gives you a key that does nothing — there’s no contact to close because the board reads magnets.
- Spring swapping. Here’s the catch. A heavier or lighter spring changes how quickly your finger reaches a given actuation point. The sensor still works, but your custom actuation settings may feel off because the force curve shifted. Recalibrate the board in software after a spring swap. On a Wooting, that takes 30 seconds in Wootility.
- Stem swapping between HE switches. Different HE switches sometimes use slightly different magnet strengths. Swap stems between two HE switch families and you may get inconsistent readings. I tried it once for science. The board worked, but two keys had subtly different actuation feel than the rest. Not worth it.
- Filming switches. Films still tighten housing wobble like they do on mechanical switches. The risk is minimal as long as the film doesn’t change the seating height of the magnet relative to the sensor. With most thin films (0.15mm), you’re fine.
The general rule for the gray-zone mods: after any change that touches the switch internals, run the board’s calibration routine. Wooting calls it “rescan keys.” Most HE software has an equivalent. Skipping it is how you end up with a board that feels broken when it’s actually just confused.
Mods You Should Not Do on a Hall Effect Keyboard
Some things just don’t translate. I’m putting these in their own section because I keep seeing people try them on forums and then complain.
- Don’t lube the magnet or the bottom of the stem near the magnet. Lube migrates. A film of grease over a magnet can dampen the field signal and throw off actuation. Wipe the bottom 2mm of the stem clean before reassembly.
- Don’t get any liquid, lube, or flux near the Hall sensors on the PCB. They’re the small black components under each switch socket. Treat them like you’d treat exposed flash memory.
- Don’t try to “upgrade” the magnets. I’ve seen people online suggest swapping in stronger neodymium magnets to “improve response.” Don’t. The sensor expects a specific field range. Stronger magnets push you past the calibration range and you’ll lose the top or bottom of your travel.
- Don’t desolder HE switches unless you know what you’re doing. The pads are small and the sensor sits right next to them. One slip with a hot iron and you’ve cooked a sensor that you cannot replace without a donor PCB.
If a mod sounds like it’s “making the magnet do more,” walk away from it.
How to Mod a Hall Effect Keyboard the Right Way (My Order of Operations)
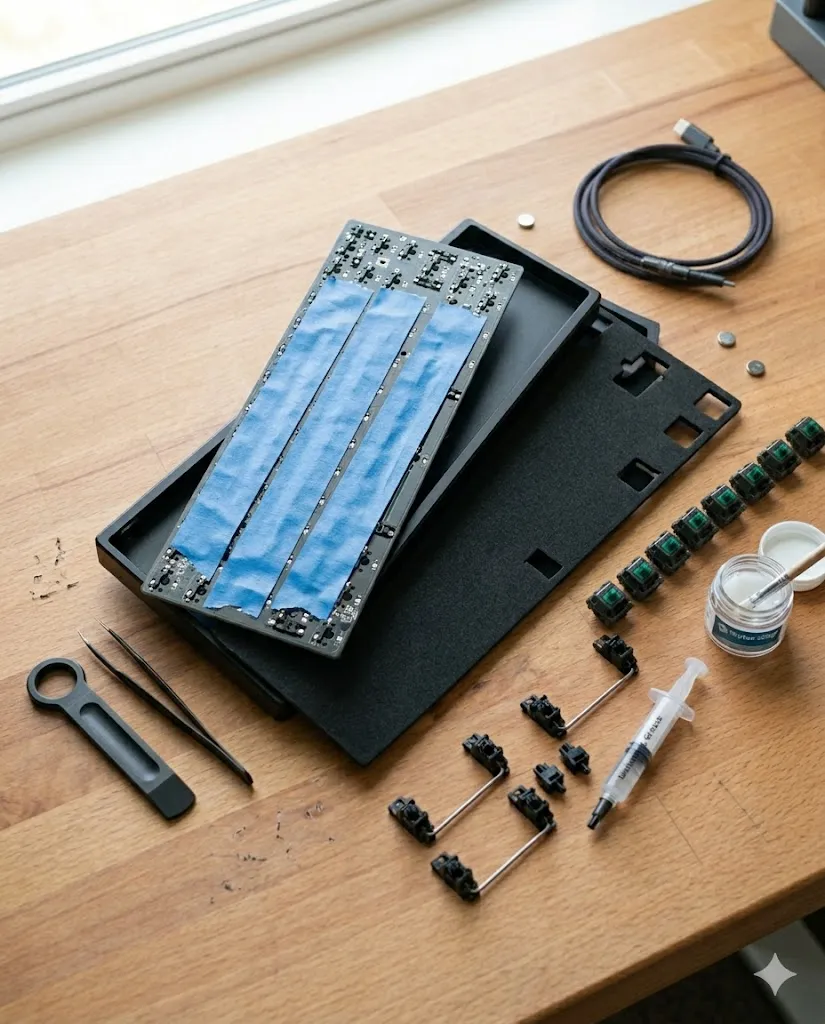
This is the order I’d actually do it in if you handed me a stock Wooting 60HE or Keychron Q1 HE tomorrow:
- Tune the stabilizers first. Biggest improvement-per-minute of any mod, mechanical or HE. Clip the feet, lube the wire, lube the housings.
- Add a tape mod and PE foam. Cheap, reversible, and you’ll hear the difference immediately.
- Swap keycaps. PBT in a profile you actually like (I’m partial to KAT and MT3, but Cherry profile is the safe bet).
- Lube the switches, if you have time. This is the longest step and gives the smallest gain on already-decent HE switches. Worth it if you’re a perfectionist. Skippable if you’re not.
- Calibrate the board in software. Always do this last after any internal work. Then dial in your actuation point and Rapid Trigger settings to taste.
Honest tradeoff: lubing 60+ HE switches takes me about three hours and the audible improvement is real but smaller than it is on, say, stock Gateron Yellows. The stock factory lubing on most HE switches is actually decent. Your time may be better spent on stabs and foam.
The Contrarian Take: You Probably Don’t Need to Mod It Much
Here’s where I’ll push back on the enthusiast crowd. The whole point of a Hall Effect keyboard — for most people who buy one — is the per-key adjustable actuation and Rapid Trigger. Those features are firmware features, not feel features. You can tune them with zero physical modding.
If you bought a Wooting 60HE for the gaming response and you’re now wondering whether you need to gasket-mod it for sound, ask yourself first: are you actually unhappy with how it sounds? Or are you mod-curious because the YouTube algorithm keeps feeding you build videos?
A stab tune and a tape mod will get you 80% of the sound improvement for an hour of work and three dollars in supplies. Everything past that is diminishing returns. I’d rather spend that time tuning actuation points per key than chasing the last drop of “thock.”
Final Verdict
You can absolutely mod a Hall Effect keyboard, and most of the mods you already know will transfer over cleanly. Stick to the housing, the keycaps, the stabs, and the case. Keep lube and tools away from the magnet and the sensor. Calibrate in software whenever you change anything internal. If you do that, an HE board can sound and feel just as good as any modern mechanical custom — with the bonus of analog actuation on top.
If you’re starting from scratch and want something forgiving to learn on, get a Wooting 60HE or an Akko MOD007B HE. If you want a premium platform that already has half the mods baked in, the Keychron Q1 HE is the easy pick. Skip anything that isn’t hot-swap unless you’re certain you’ll love the stock switches, because on a Hall Effect board, the switches are the whole point.
This article contains affiliate links. If you buy through them, I earn a small commission at no extra cost to you. I only recommend keyboards I’ve actually tested. As an Amazon Associate I earn from qualifying purchases.

I’ve torn down, lubed, and rebuilt several hundred keyboards — from $20 membranes to $800 enthusiast boards. I review them honestly, even when “honestly” means telling you to skip the one with the bigger marketing budget.