How to Build a Custom Keyboard From Parts: Full Guide

This article contains affiliate links. If you buy through them, I earn a small commission at no extra cost to you. I only recommend keyboards I’ve actually tested. As an Amazon Associate I earn from qualifying purchases.
I’ve built dozens of custom keyboards over the last decade — some glorious, some that taught me expensive lessons. If you’re reading this, you’ve probably bottomed out on whatever generic board came with your PC and want something that actually feels good to type on. Good. Building your own is one of the most satisfying projects in this hobby, but skip the planning and you can torch a paycheck on parts that don’t fit together or don’t sound the way you imagined.
This is the no-BS version of how to build a custom keyboard from parts. I’ll walk you through the pieces, the order to buy them in, the mods worth doing, and the ones I’d skip. By the end you’ll have a clear path — whether you’re chasing a $150 first build or a $500 “endgame” deck.
Quick Comparison: Which Custom Keyboard Build Is Right for You?
Before you buy anything, figure out what you’re actually building for. Here’s the cheat sheet I’d hand a friend over coffee.




| Build Path | Best For | Switches I’d Use | Approx. Cost | Sound Profile |
|---|---|---|---|---|
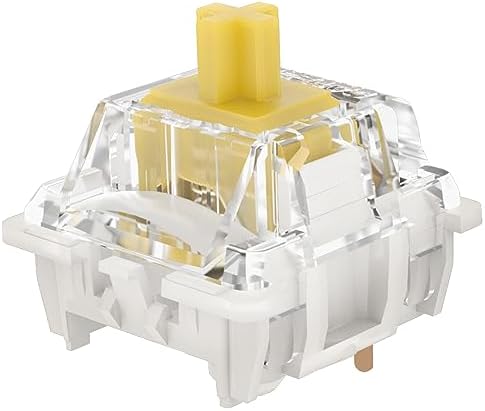
| Budget Starter | First-time builders | Gateron Yellow Pro | $120–$180 | Smooth, restrained |
| Office-Friendly | Shared workspaces | Cherry MX Silent Red | $180–$260 | Muted, low-clack |
| Gaming Daily Driver | FPS / competitive | Gateron Oil King | $200–$320 | Deep, fast |
| Premium “Thock” Build | Sound-chasers | Akko V3 Cream Yellow Pro | $350–$500 | Marbly, full |
| Typing & Writing | Devs, writers | Boba U4T (tactile) | $250–$380 | Sharp, snappy |
If you can answer two honest questions — how loud can this thing be? and what’s my real budget? — you’re 80% of the way to the right build.
What You’re Actually Signing Up For
A custom keyboard isn’t one product. It’s about seven small purchases that have to play nice together. Get one wrong and the whole thing fights you. Here’s the catch most guides won’t tell you: your first build will probably cost more than you planned, and your second will be cheaper — because you’ll stop buying things you don’t need.
Plan to spend a Saturday afternoon on assembly. It’s not hard. It’s not IKEA either.
The Parts List: Everything You Need to Build a Custom Keyboard
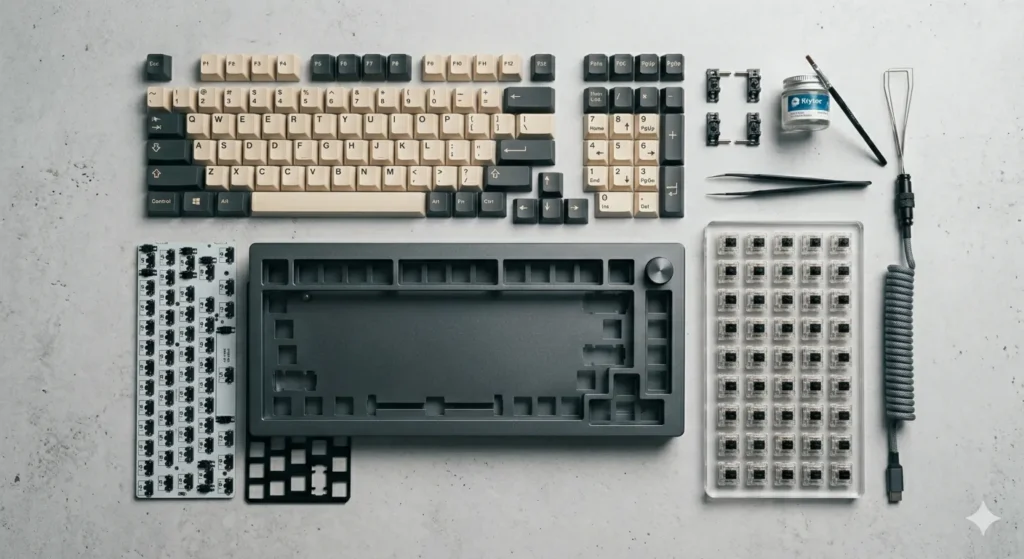
Here’s every part, in the rough order you should pick them.
1. The Case
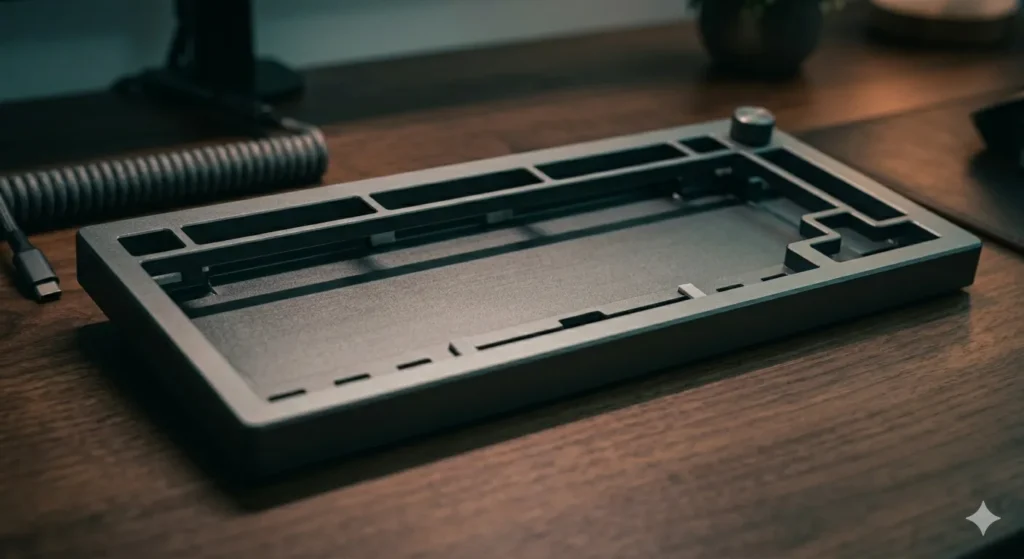
This decides the size, the feel, and most of the look.
- Plastic cases (Tofu60, KBDfans D60 Lite): light, cheap, plenty good for a first build.
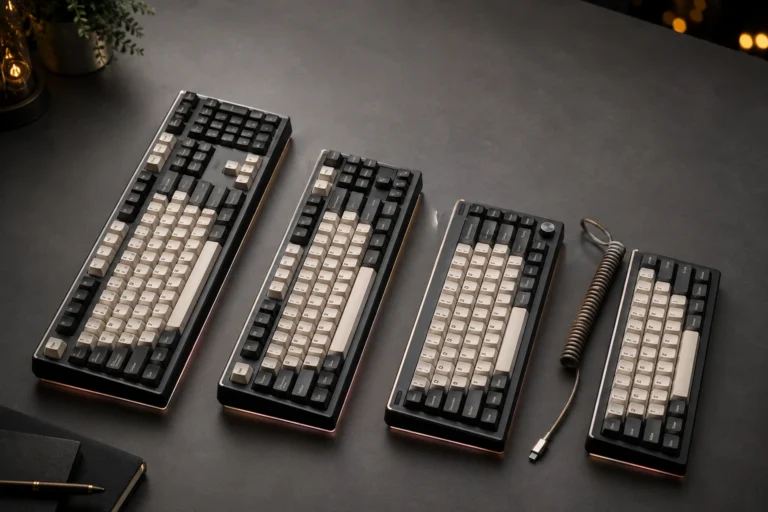
- Aluminum cases (Mode Sonnet, GMMK Pro, Keychron Q-series): heavier, more “premium” sound, more money.
- Mounting style matters more than the material. Gasket mount feels softer and more cushioned. Tray mount is firmer and a little pingy. Top mount sits between them.
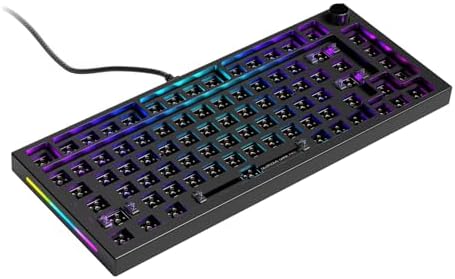
If this is your first build, grab a Keychron Q1 or Q2. Hot-swap PCB, gasket mount, decent stock stabs out of the box. You can change switches and keycaps without ever picking up a soldering iron.
2. The PCB
The brains of the board.
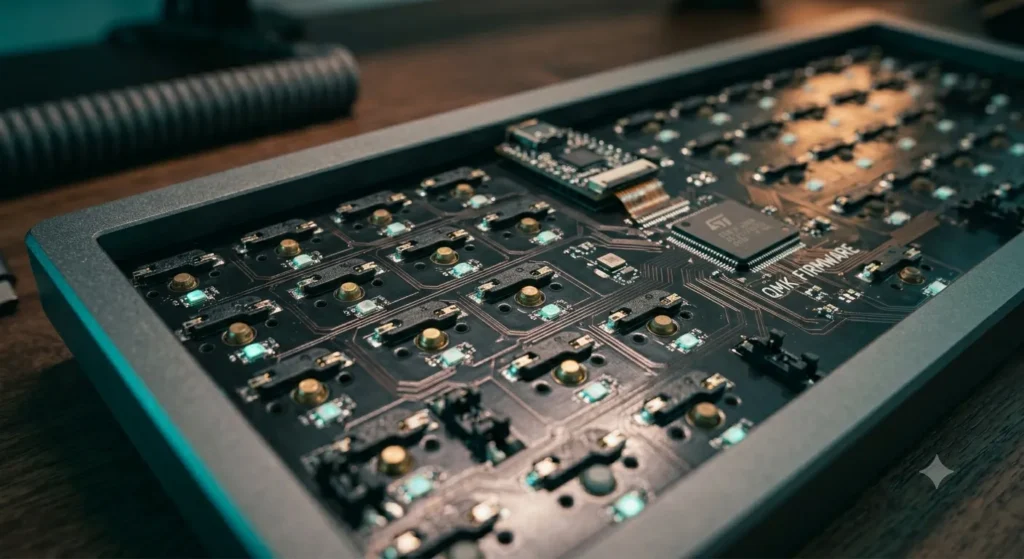
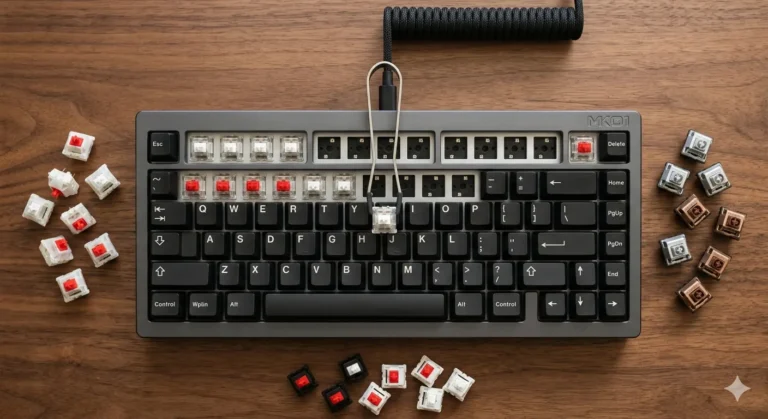
- Hot-swap PCBs let you pull switches out with a tool. No soldering. Almost everyone should start here.
- Solder PCBs are cheaper and more reliable long-term, but you’re committing to those switches.
- Look for QMK or VIA support if you want to remap keys, build layers, or run macros. Most decent PCBs in 2026 support VIA. If a board doesn’t, that’s a yellow flag for me.
Polling rate? 1000Hz is fine for 99% of humans. Don’t pay extra for 8000Hz unless you’re a top-200 FPS player. You won’t feel it. I’ve tested it back-to-back and I couldn’t reliably pick it out blind.
3. The Plate
The plate sandwiches between the PCB and case and holds the switches.
- Brass: dense, deep, expensive.
- Aluminum: balanced, the safe default.
- POM or FR4: softer, more flex, better for that creamy “marbly” sound people chase.
- Polycarbonate (PC): bouncy, slightly muffled, great in gasket builds.
Most kits include a plate. If you’re picking yourself, aluminum is the boring-but-right answer for a first build.
4. Switches
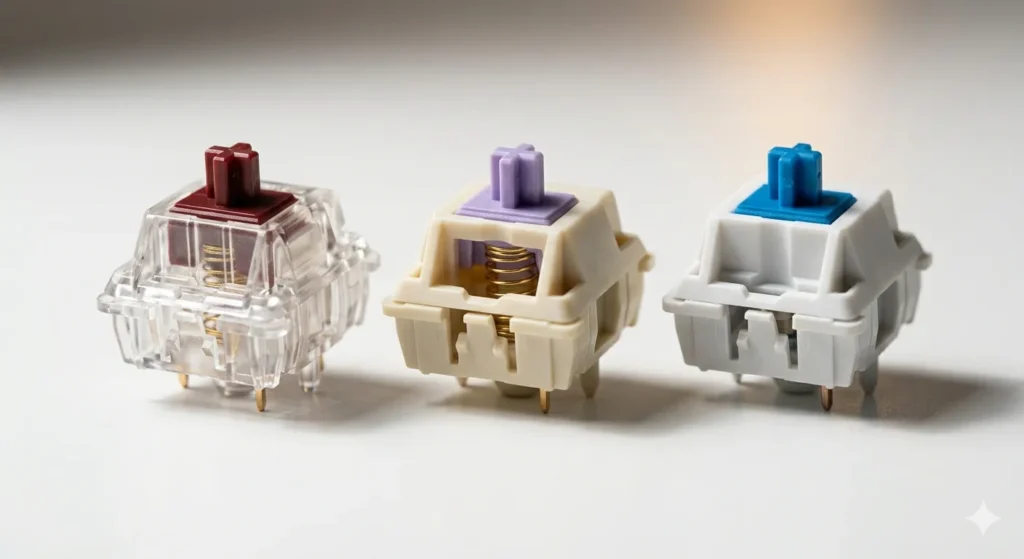
This is where it gets personal. I’ve tested hundreds of switches and the differences are real, but they’re not magic.
- Linear (Gateron Oil Kings, Akko Cream Yellows, MX Reds): smooth top to bottom. Gaming favorite.
- Tactile (Boba U4T, Glorious Panda, Holy Pandas): a small bump partway down. Great for typing.
- Clicky (Kailh Box Whites, MX Blues): loud, satisfying, will make your coworkers hate you.
Buy a switch tester before committing to 70 switches. A $15 tester saves you $80 in regret. That’s not a tip — that’s gospel.
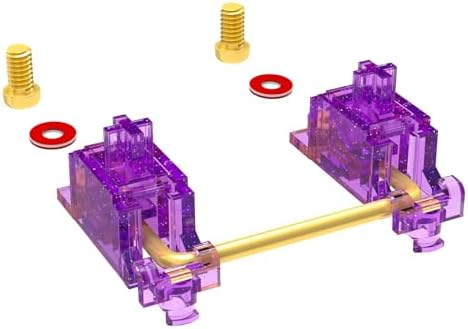
5. Stabilizers
The most overlooked part of any custom keyboard build, and the one that ruins more boards than anything else. Stabilizers sit under your bigger keys — spacebar, shift, enter, backspace. Untuned, they rattle like a soda can full of nails.
- Use screw-in stabilizers whenever your PCB supports them. Never plate-mount if you can help it.
- Tune them. Clip the feet, lube the wire with dielectric grease, lube the housing with Krytox 205g0.
- Brands I trust: Durock V2, TX Stabs, Cherry clip-ins. Skip the cheapest no-name ones — you’ll feel the savings every time you hit space.
You can have $400 in parts and one bad spacebar stab will make the whole board sound broken. I’m not exaggerating.
6. Keycaps
The visual personality of the build, and a bigger chunk of the sound than people realize.
- PBT is denser, doesn’t shine after months of use, sounds slightly deeper. My default recommendation.
- ABS is smoother and crisper-feeling, but develops shine and sounds higher-pitched. GMK is the famous exception — premium ABS that costs $130+ a set.
- Profile matters too. Cherry is the safe middle. OEM is taller. SA is sculpted and dramatic but slow to type on until you adjust.
For a first set, KBDfans, Akko, and Drop MT3 are all solid value. PBT in Cherry profile is the safest “I won’t regret this” pick.
7. Foam, Tape, and the Mods Question
You’ll see endless YouTube videos on mods. Most of them help. Some don’t.
- Case foam: kills hollow ping. Worth it.
- PCB foam: dampens between PCB and plate. Worth it.
- Tape mod (painter’s tape on the back of the PCB): a marbly, deeper tone for free. Polarizing, but I like it.
- Force-break mod, PE foam mod: nice-to-haves. Diminishing returns.
Don’t overthink the mods on build number one. Stuff the case foam in, ship it, mod later.
How to Build a Custom Keyboard: Step-by-Step Assembly
Here’s the order I follow every time. Block out 2–3 hours for your first one.
- Flash and test the PCB first. Plug it into your computer before you install a single switch. Open VIA and short each contact with tweezers — confirm every key registers. Catching a dead PCB early saves you from disassembling the whole board later.
- Tune your stabilizers. Clip the feet, lube the wires, lube the housings, snap them onto the PCB. Press each one. They should sound dull and feel smooth — no tick, no rattle.
- Drop the plate onto the PCB. Test-fit switches into the four corners to lock the plate in place before populating the rest.
- Install switches. Push them straight down with light pressure. If a pin bends — and it will eventually happen — straighten it carefully with tweezers before re-seating. Bent pins are the #1 reason a key “doesn’t work” on a new build.
- Drop the assembly into the case. Most modern gasket builds just rest on the gaskets — no screws into the PCB itself.
- Close the case. Tighten screws in a star pattern, not in order. Even pressure prevents plate warping.
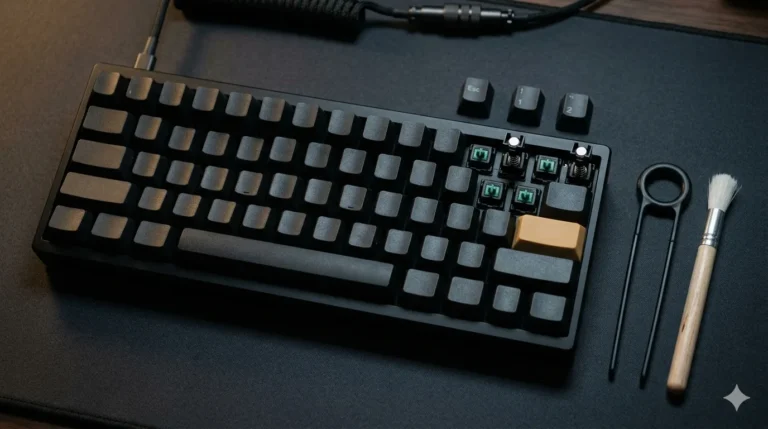
- Install keycaps. Stabilized keys (spacebar, shift, enter, backspace) go on first, lined up straight on the wires.
- Test every key in VIA. Including the ones you never use. Find problems now, not three weeks in.
That’s the whole assembly. The hard part wasn’t the build — it was the buying.
Tools You Actually Need
Skip the 40-piece kits. Here’s the real minimum:
- Switch puller (most keycap kits include one)
- Tweezers (for bent pins)
- Small Phillips screwdriver
- Krytox 205g0 if you’re hand-lubing switches
- Switch opener (if you plan to lube)
- Painter’s tape (if you’re tape-modding)
That’s it. Anything else is upsell.
My Honest Verdict on How to Build a Custom Keyboard
Here’s my contrarian take: most people who think they want a $500 custom keyboard would be just as happy with a well-tuned $180 build. A Keychron Q2, a set of Gateron Oil Kings, tuned stabs, and a PBT Cherry-profile keycap set will out-type and out-sound 90% of the boutique builds I see online. I’ve A/B tested it. The difference past a certain price point is mostly aesthetics and bragging rights.
That said — the hobby is fun because of the rabbit hole. If you enjoy the building part as much as the typing, you’ll keep going down it. Just don’t let anyone convince you a $300 case sounds three times better than a $100 one. It doesn’t.
My advice if you’re starting today: build one solid, mid-tier board. Type on it for a month. Then decide what to upgrade. That’s the smart way to do this — and the one that’ll save you the most money in the long run.
This article contains affiliate links. If you buy through them, I earn a small commission at no extra cost to you. I only recommend keyboards I’ve actually tested. As an Amazon Associate I earn from qualifying purchases.