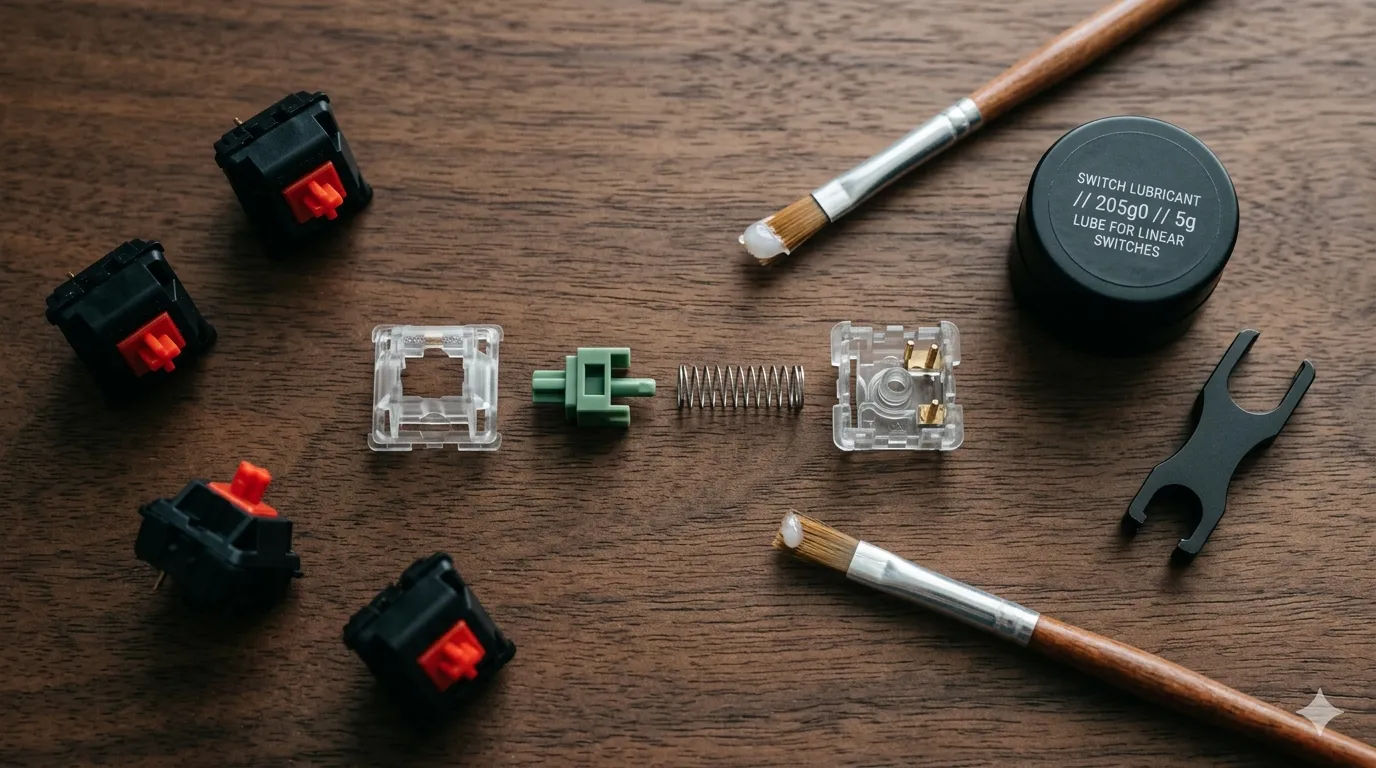
How to Lube Mechanical Keyboard Switches (Step-by-Step)

This article contains affiliate links. If you buy through them, I earn a small commission at no extra cost to you. I only recommend keyboards I’ve actually tested. As an Amazon Associate I earn from qualifying purchases.
Most people who ask me how to lube switches expect some kind of mystical art passed down from a basement in Tokyo. It isn’t one. It’s a tedious, slightly satisfying afternoon with a small brush, a tub of grease, and whatever podcast you can stand for three hours. Done right, it turns a scratchy $35 switch into something that sounds and feels like it cost three times that. Done wrong, you’ll mute the only thing you actually liked about the board.
I’ve lubed somewhere north of 4,000 switches at this point — Gateron Yellows, Alpacas, Boba U4Ts, the original Holy Pandas, even a misguided afternoon trying to “smooth out” some Cherry MX Blues (don’t). What follows is the exact process I use, the lube I actually buy, and the mistakes I see new modders make every week in my inbox.
Quick Comparison: What to Buy Before You Lube Switches
If you just want the shopping list and a quick verdict, here it is. I’ve categorized by what you actually need it for, not by brand alphabetical order.




| Pick This If You’re… | Product | Why It’s the Right Call |
|---|---|---|
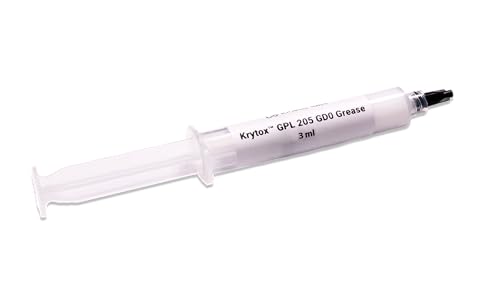
| Lubing linears (the meta choice) | Krytox GPL 205 Grade 0 | The industry default for a reason. Thick enough to smooth long travel, thin enough not to feel mushy. |
| Lubing tactiles like Boba U4T or Holy Pandas | Krytox GPL 3204 | Thinner viscosity. Keeps the tactile bump intact instead of drowning it. |
| Tired of breaking fingernails on switch housings | Generic switch opener (Kelowna-style) | Cheap, fits MX and Kailh housings, saves your sanity. |
| Brand new and want everything in one box | Glorious Lube Kit or KBDfans Starter Kit | Brush, opener, and 205g0 bundled. Skip the kit’s tweezers — they’re junk. |
| Doing springs only | Krytox GPL 105 (oil) | Thin enough to bag-lube without clumping. Don’t use 205g0 on springs. |
That’s the TL;DR. If you want to understand why each one matters and how to actually apply it without ruining a $80 set of switches, keep reading.
Why Bother Lubing Switches at All?
Before you commit a Saturday to this, let’s be honest about what lubing actually does and doesn’t do.
What it does:
- Removes most of the stem-on-housing scratch you hear on stock linears
- Quiets the spring ping that drives some people up a wall
- Makes the switch feel noticeably smoother under your finger
- Improves the typing sound — deeper, less plasticky, more “thock” if that’s your thing
What it doesn’t do:
- Turn a bad switch into a good one. Lubed Outemu Blues are still Outemu Blues.
- Make a $40 prebuilt sound like a $400 custom. The case, plate, and foam matter more than most beginners think.
- Fix bad stabilizers. Different mod, different day.
Here’s the honest tradeoff: if you’re a casual typist on a Logitech membrane and you can’t tell a tactile bump from a hole in the ground, this isn’t going to change your life. If you’re already noticing your switches sound scratchy or your spring is pinging like a triangle in an orchestra, lubing will be the single biggest sound and feel upgrade you can make for $20 in supplies.
What You Need Before You Lube Switches
You don’t need a dedicated workshop. You need these eight things and a flat surface with decent light:
- Lube — Krytox 205g0 for linears, 3204 for tactiles. One 5g tub does about 120 switches.
- A switch opener — saves the housings and your nails.
- A stem holder or lube station — the little 3D-printed tray with slots. Worth every penny.
- A small brush — size 00 or smaller. The brush in most kits is too big; replace it.
- Tweezers — for stems and springs. Bent-tip if you can find them.
- A clean cloth or paper towel — for wiping excess off the brush.
- Good lighting — a desk lamp at minimum. Hunching in the dark is how mistakes happen.
- Patience — three to four hours for 100 switches if you’re new. Plan accordingly.
I lube on a kitchen tray so I can carry the whole operation to the couch when my back starts complaining.
Which Lube Goes on Which Switch
This is where new modders mess up the most. Krytox 205g0 is not the answer to every question. Match the lube to the switch type or you’ll regret it.
| Switch Type | Recommended Lube | Why |
|---|---|---|
| Linear (Gateron Yellow, Cherry MX Red, Alpaca, Tangerine) | Krytox 205g0 | Thick enough to smooth the entire long, scratchy travel |
| Light linear (Tealios V2, Gateron Milky Yellow) | Krytox 205g0, very thin coat | Same lube, dial back the amount |
| Tactile (Boba U4T, Zealios V2, Holy Panda, Glorious Panda) | Krytox 3204 | Thinner — won’t smother the bump |
| Clicky (Cherry MX Blue, Kailh Box White, Jade) | Don’t lube the housing | Lube + click leaf = a dead, muddy click |
| Springs (any type) | Krytox 105 oil | Thin enough to bag-lube without clumping |
Rule of thumb: thicker stems and longer travel want thicker lube. Tactiles want less, thinner, and applied carefully. Clicky switches don’t want you anywhere near them with a brush — at most, you can lube the springs and bottom housing rails, and even then, most clicky fans prefer them dry.
How to Lube Switches in 7 Steps
This is the core of it. Read the whole thing before you start so you’re not flipping back mid-stem.
- Open the switch. Place it pins-down in your switch opener and press. The top housing should pop off cleanly. If you’re fighting it, you’ve got the orientation wrong — Cherry-style and Kailh-style switches have different clip positions.
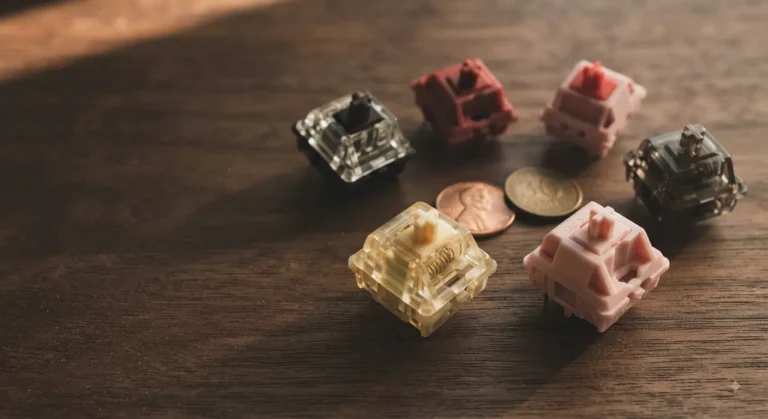
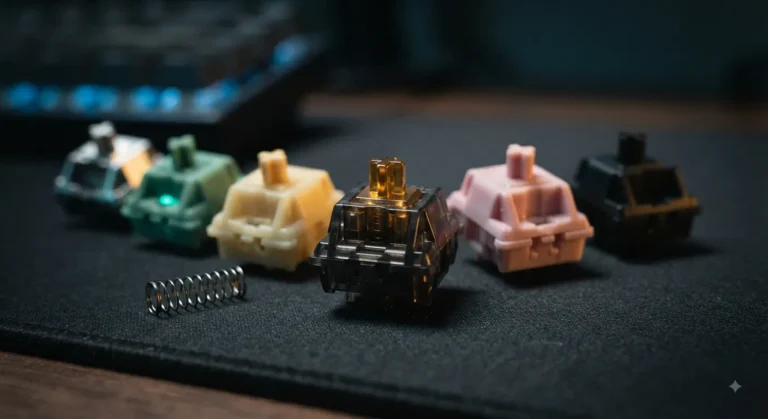
- Separate the four parts. Top housing, stem, spring, bottom housing. I lay them out in four piles on the tray so I never lose track of which step I’m on.
- Lube the bottom housing rails. Dip the brush, wipe most of it off on a paper towel, then paint the two vertical rails inside the bottom housing — the ones the stem actually slides on. Both sides. Thin coat. You should barely see it.
- Lube the stem. Hold it by the cross-mount (the + on top). Paint the sides where it contacts the rails, the two legs, and the bottom pole. On a tactile switch, skip the legs entirely — that’s where the leaf does its work, and lube there will kill the bump.
- Lube the spring. Two methods. Hand-paint each one with a tiny amount of 205g0 (slow, precise, perfectionist’s choice). Or bag-lube: drop the springs in a small zip bag with three or four drops of 105 oil, shake for 30 seconds, drain on a paper towel. Bag-lubing is faster but more inconsistent.
- Reassemble. Spring on the stem pole, drop the stem-and-spring into the bottom housing, click the top housing back on. Make sure the orientation matches — there’s a notch.
- Test before you commit. Pop two or three back into the board and type for a minute. If they feel mushy, you used too much. If they still sound scratchy, you missed the rails. Adjust before you do the other 97.
That’s the whole process. The mechanics are simple. The skill is in the consistency — every switch getting the same amount of lube in the same places.
What NOT to Lube (This Is Where People Ruin Switches)
- Click leaves on clicky switches. This is the one. Lube touches that leaf, the click dies, the switch sounds like a wet sneeze. There’s no going back.
- Contact leaves on the bottom housing. Those small metal pieces complete the electrical circuit. Get lube on them and the switch won’t register keypresses. You’ll be confused for an hour before you realize what you did.
- The cross-mount on top of the stem. The keycap goes there. Lube on it means a wobbly, greasy keycap.
- The inside of the top housing on tactiles. Some guides tell you to. I don’t. It mutes the leaf interaction and adds nothing.
When in doubt, less. You can always add more lube. You cannot take it back out without disassembling and wiping it down with isopropyl alcohol, which is exactly as fun as it sounds.
Common Mistakes I See When People Lube Switches
A short list of the offenders I see most in reader emails and Discord pings:
- Too much lube. By far the biggest sin. If you can clearly see white grease on the part, you’ve overdone it.
- Using 205g0 on tactiles. Turns a crisp Boba U4T into a sad, soggy linear. Use 3204.
- Lubing clicky switches. Just don’t. If you wanted a quiet switch, you should’ve bought one.
- Rushing. This isn’t a 30-minute job for a full board. It’s two to four hours minimum, and the last 20 switches will be worse than the first 20 if you push through tired.
- Forgetting to wipe the brush. The first dip always has too much. Wipe it down before the first stroke, every single switch.
Is Bag Lubing Springs Actually Worth It?
Here’s a mildly contrarian take: I think bag lubing gets oversold.
It’s fast — five minutes versus 40 for hand-painting 100 springs. For a quick budget build or a board you’re not precious about, it’s totally fine. But the coverage is uneven. Some springs come out swimming in oil, others barely touched. On my personal endgame boards, I hand-lube every spring with a tiny dab of 205g0 on the top and bottom coils. Slower, yes. Quieter, more consistent ping reduction, also yes.
If you’re new, bag-lube your first set. Once you’ve done a few builds, try hand-lubing springs on your next one and decide for yourself whether you can hear the difference. Most people can.
The Verdict on Lubing Switches
Lubing switches is the highest-impact, lowest-cost mod you can do to a mechanical keyboard. For about $25 in supplies and an afternoon of your life, you get a smoother, quieter, more satisfying typing experience that genuinely sounds like a custom build instead of a stock prebuilt.
The catch — and there’s always a catch — is that it’s tedious work that rewards patience. Rush it and you’ll do worse than if you hadn’t lubed at all. If you’ve got 100 switches, a podcast, and a quiet Saturday, do it. If you’re trying to squeeze it into a Wednesday night between meetings, wait for the weekend.
One last piece of advice from someone who’s done this too many times: lube a sample of 10 switches first and live with them for a day before committing to the whole board. Your ears and fingers will tell you whether you’ve got the technique right. Trust them more than you trust any guide on the internet — including this one.
This article contains affiliate links. If you buy through them, I earn a small commission at no extra cost to you. I only recommend keyboards I’ve actually tested. As an Amazon Associate I earn from qualifying purchases.